
Most amalgam fillings exhibit extensive structural damage to the underlying tooth, therefore to replace them efficiently they need to be restored with durable porcelain materials which will protect the entire chewing surface and keep the weakened walls of the tooth safely together.
Traditionally crowns with metal bases were used, however, this necessitated extensive tooth removal (which increased the chances of a root canal), not to mention the constant irritation to the periodontium (more info) by metal margins impinging on the gum tissue.
Nowadays, with durable porcelains and improved bonding agents, by following biomimetic (more info) and minimally invasive principles, teeth can be restored with biocompatible porcelains without extensive drilling.
Four years ago we acquired the latest CEREC digital equipment which allows us to complete the whole procedure the same day – removing amalgam, digitally scanning the tooth, milling and glazing the onlay, and cementing it in place. No temporaries, no second shots, no two-hour commutes for a second visit.
For more on CEREC technology, read the article How To Get Your Crown The Same Day.
To read Dr. Sarkissian’s blog showcasing illustrations of a healthy tooth, how it decays, how it is traditionally filled with amalgam, and how it is prepared for an onlay, see the article Replacing Amalgams with Porcelain Onlays.
Following is a series of illustrations from the article above with their corresponding real-life photographs and captions, explaining the whole procedure (Click on an image to enlarge, press the ESC key or click outside to close enlarged image):
The AMALGAM Filling
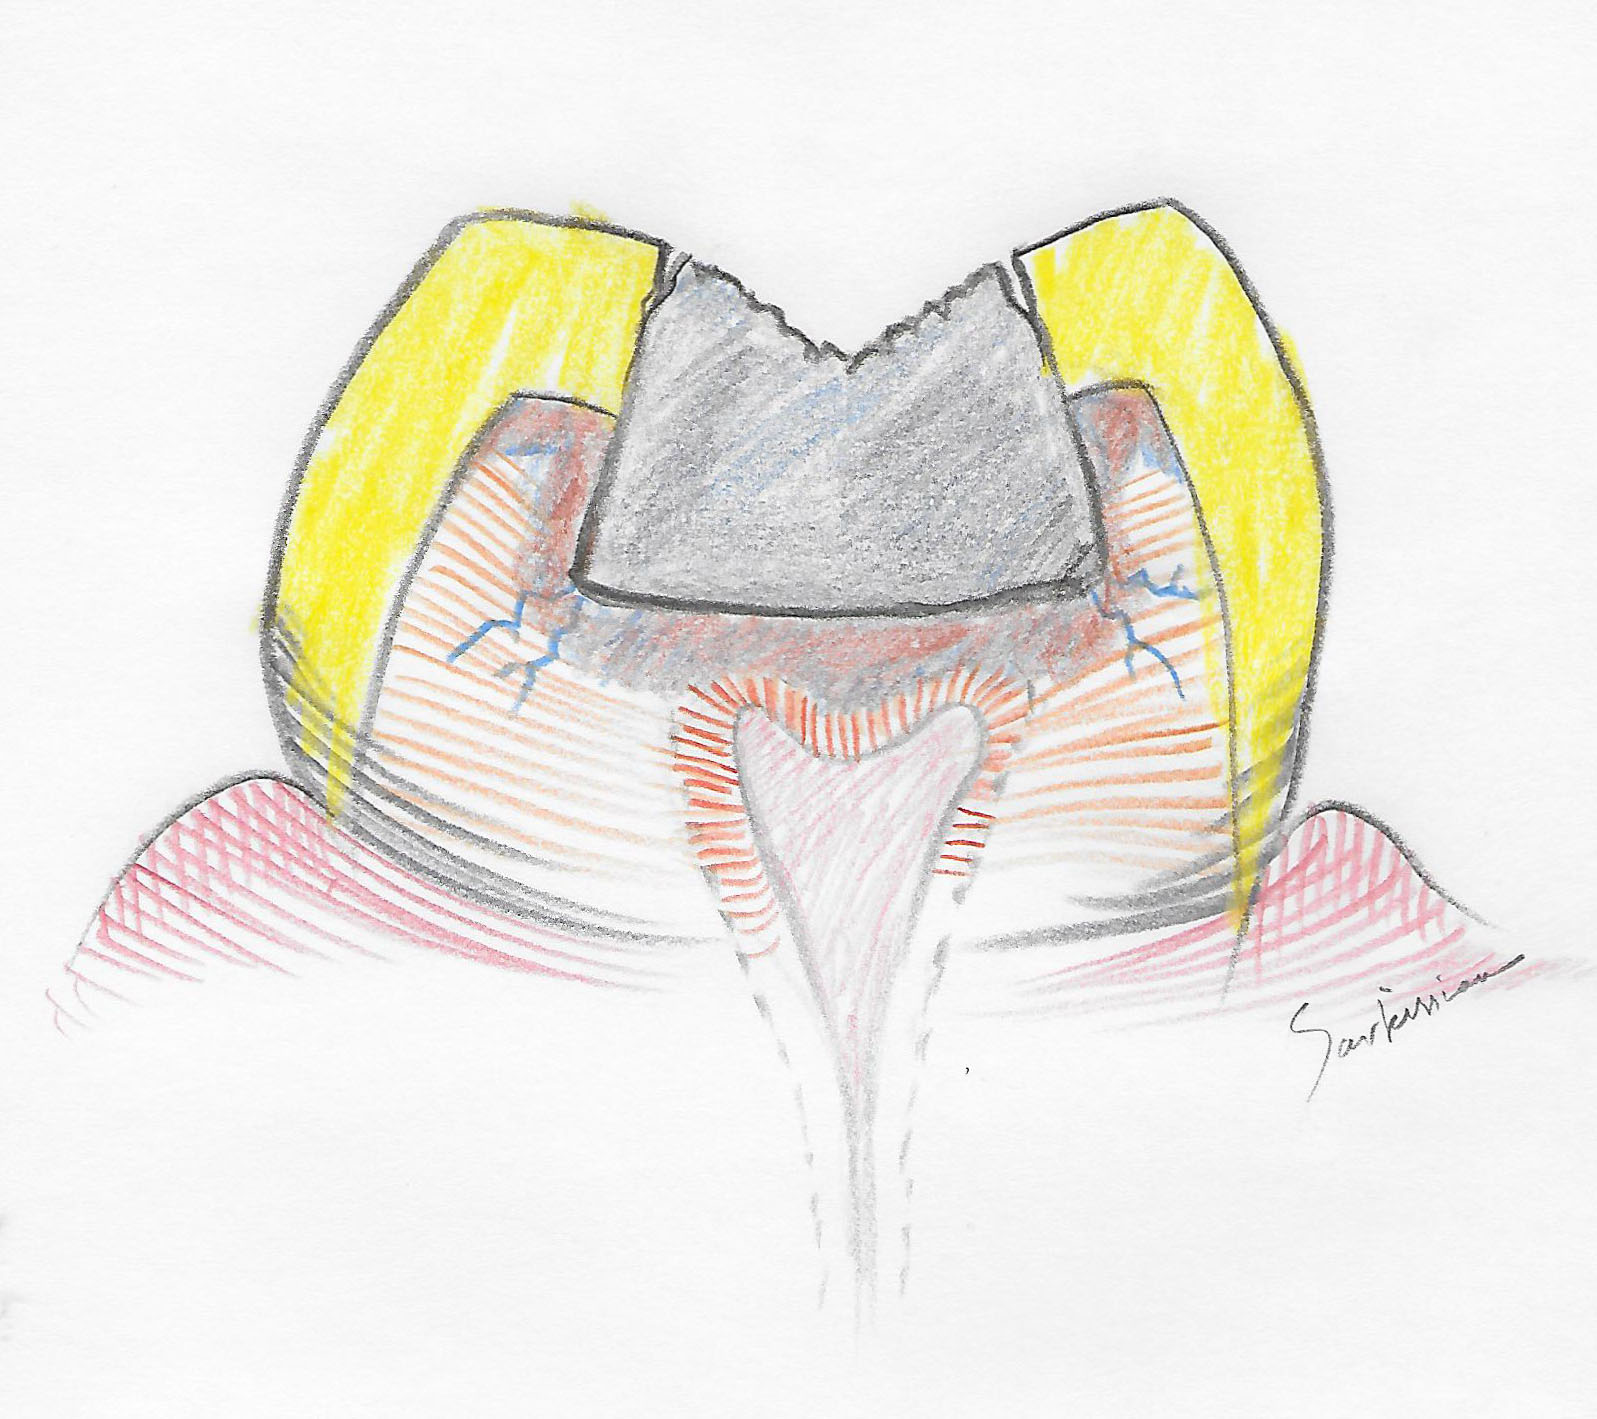
An amalgam filling is basically a primitive “prosthetic” method of cutting (or drilling) out infected dentine and filling the space with a substance which hardens and “restores” the missing part of the tooth. Amalgam is an unstable metallic alloy which is not bonded to tooth structure. Instead, it is packed into the cavity using undercuts so it stays put.
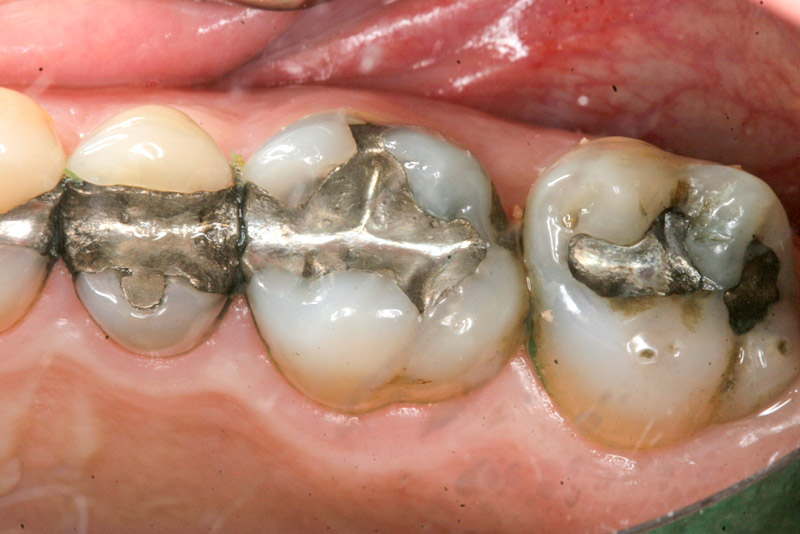
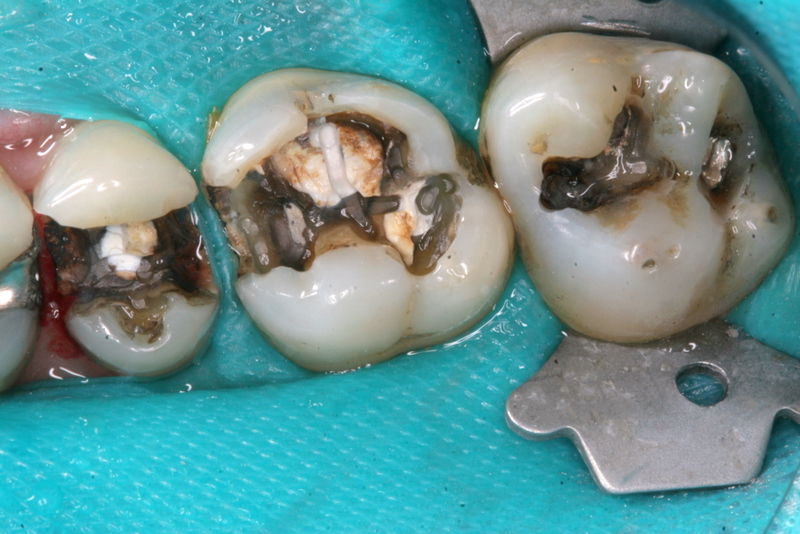
Deterioration and Recurrent Decay
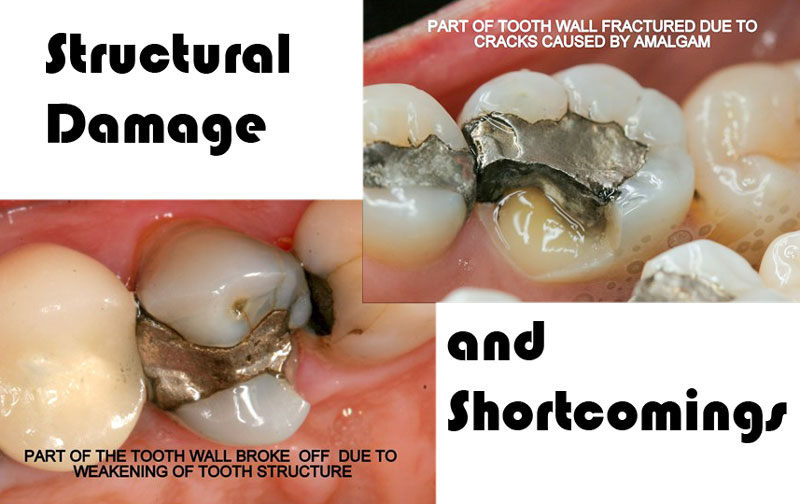
Over the years, as amalgam corrodes, its surface is rusted and its marginal integrity is damaged, allowing moisture and bacteria to leak into the space between it and the tooth. The constant expansion and contraction from temperature fluctuations also cause cracks inside the tooth, weakening its structural integrity. What is known as “recurrent” decay sets in, which spreads towards the pulp, and along the enamel and dentin interface, weakening the tooth even more.
Many times the walls of the tooth crumble and fall off, not to mention a total split of the tooth which necessitates extraction.
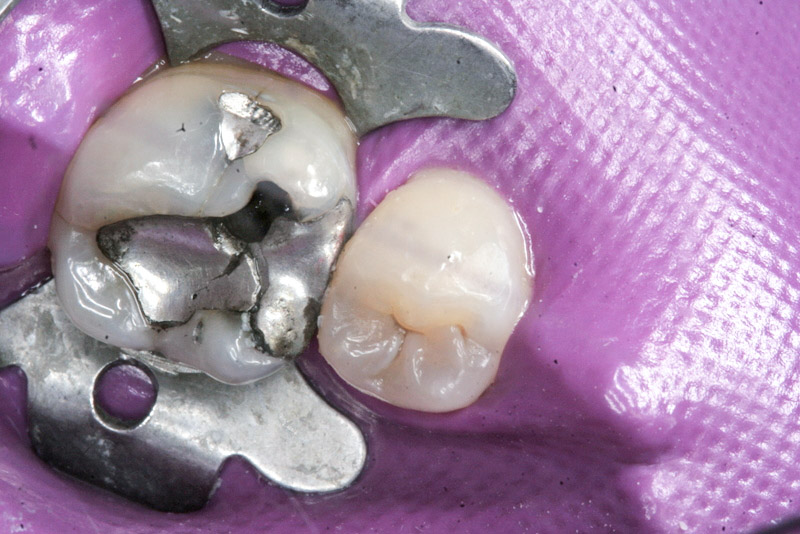
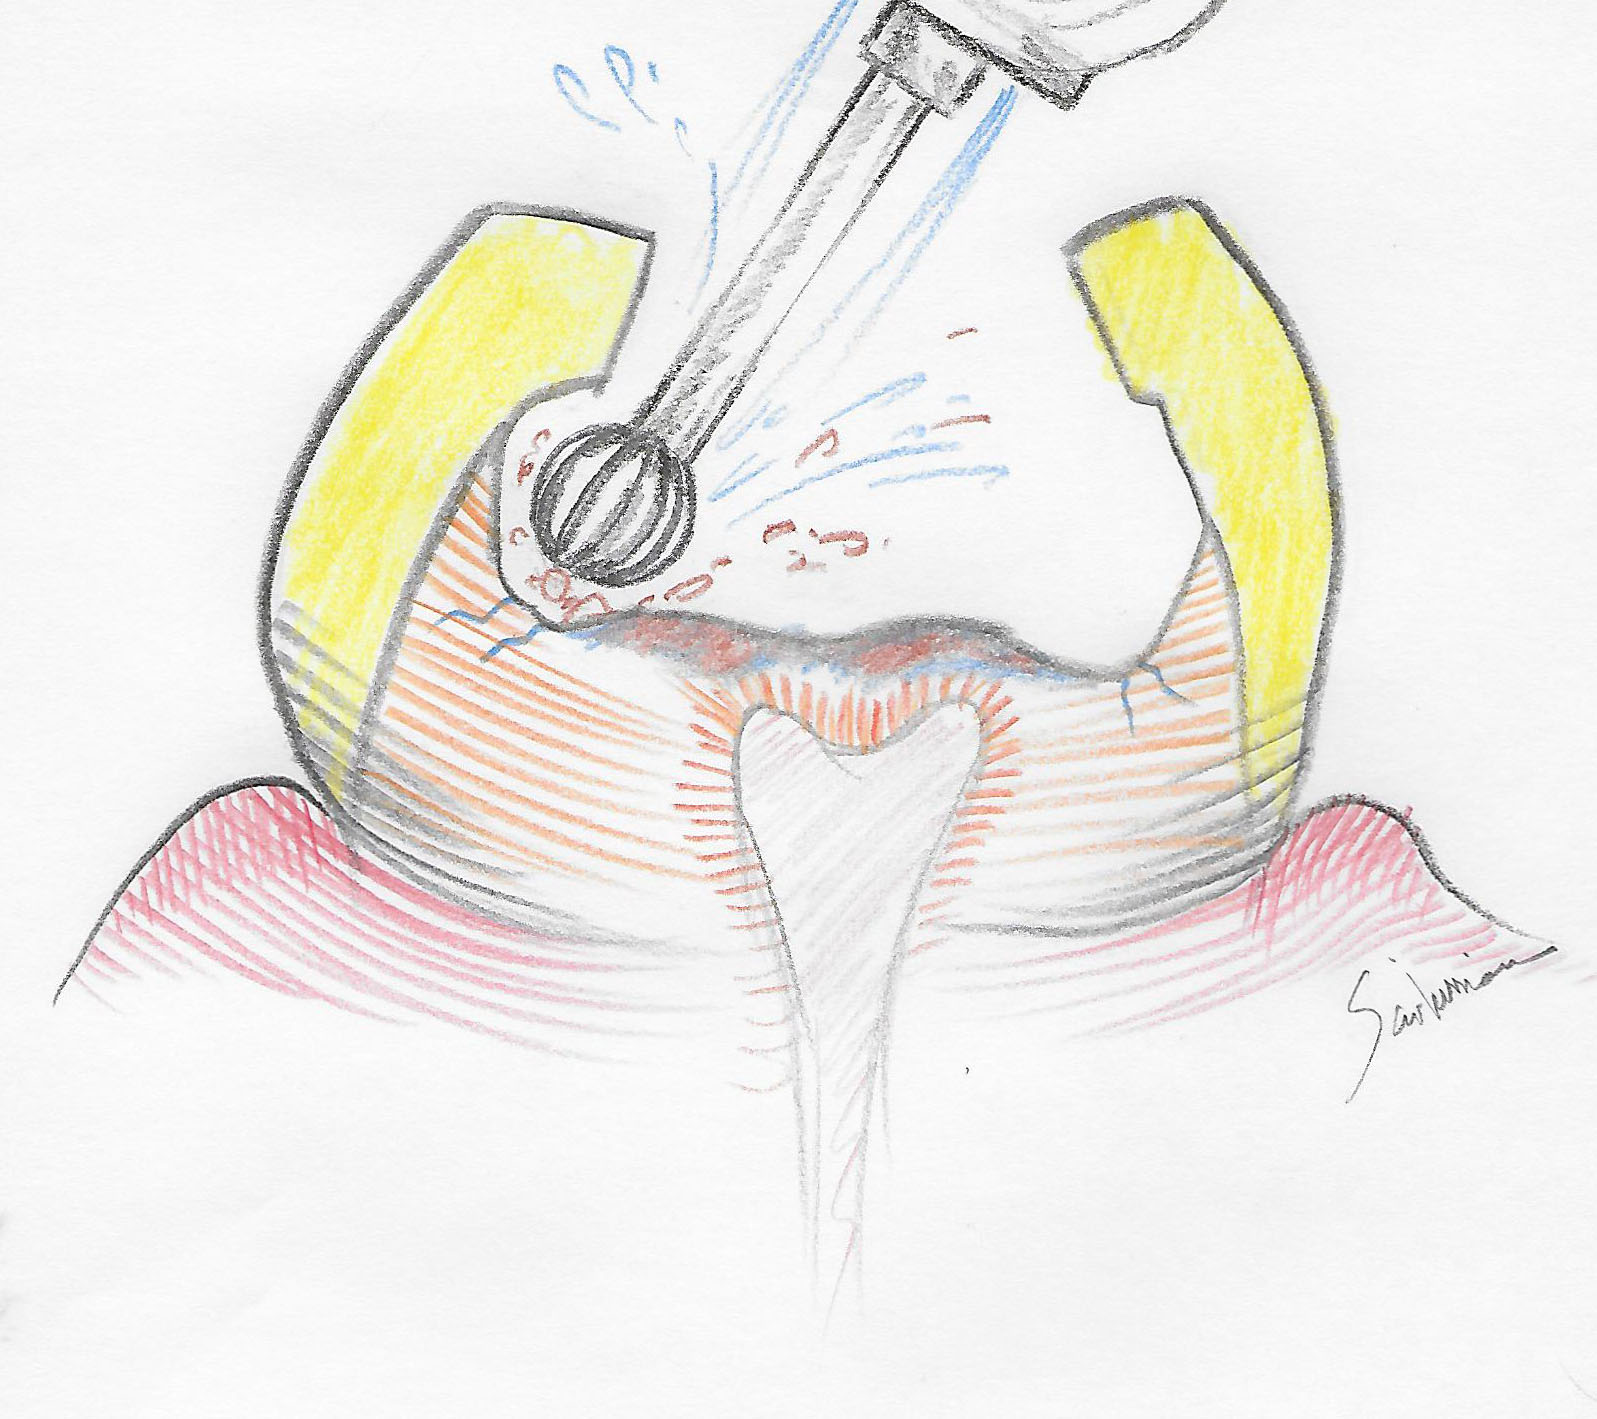
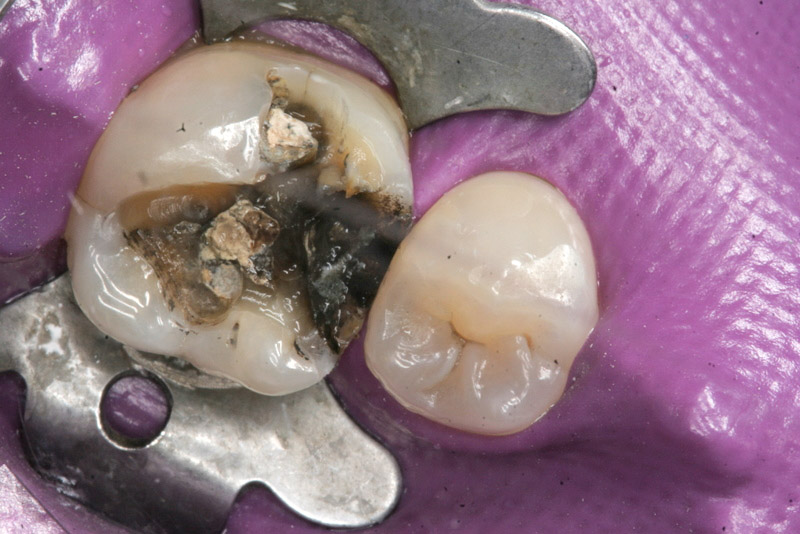
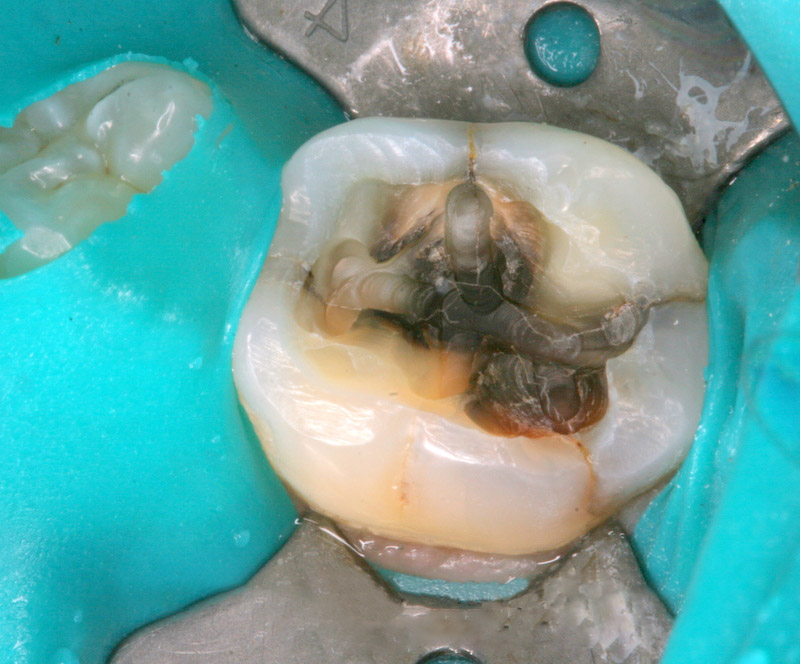
Safe Amalgam Removal
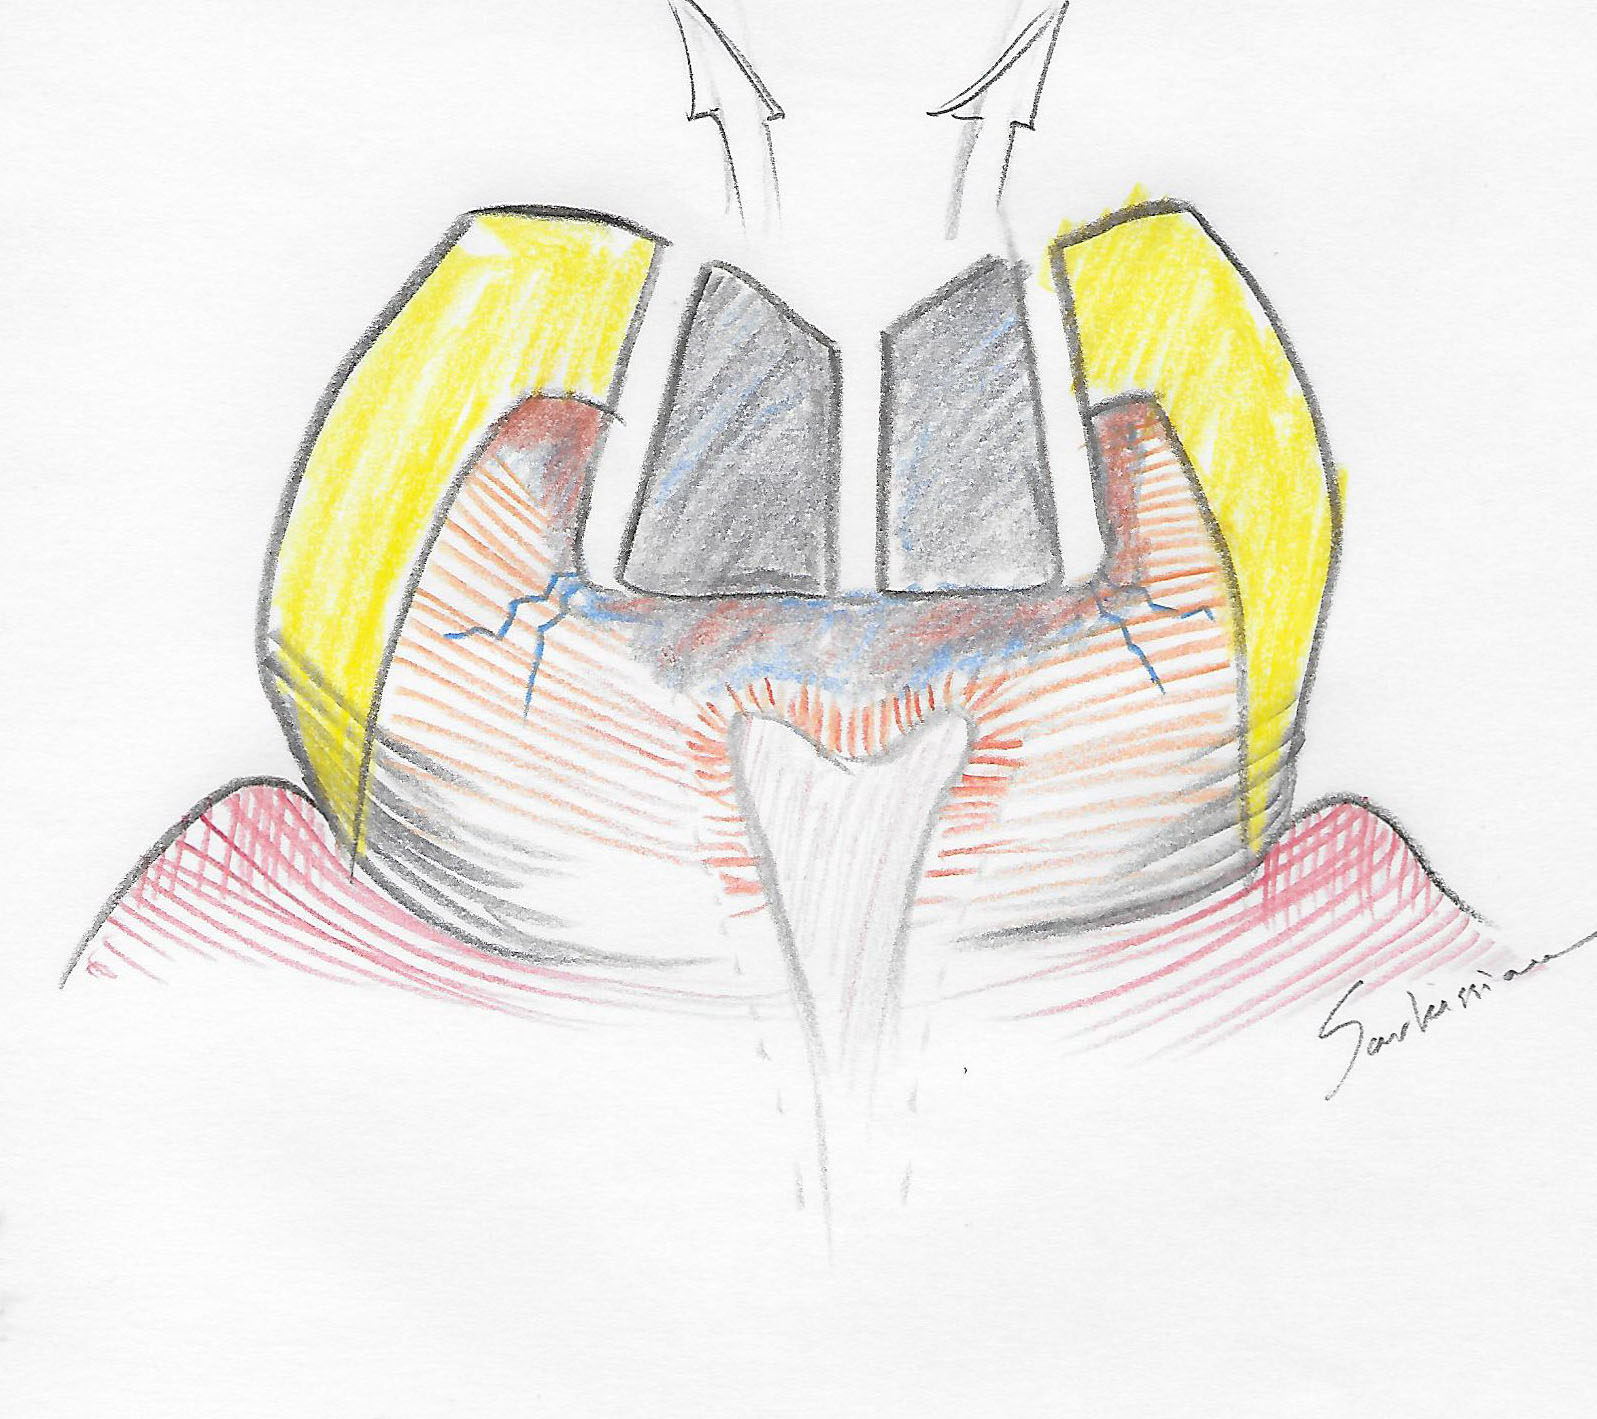
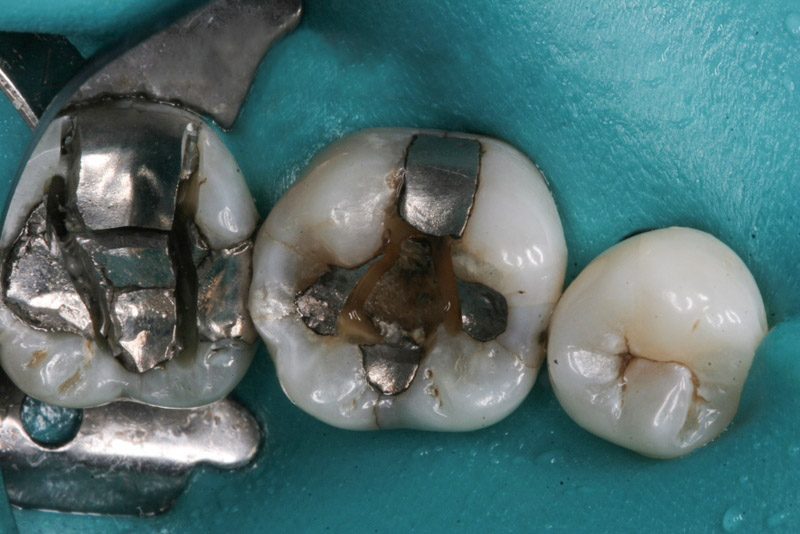
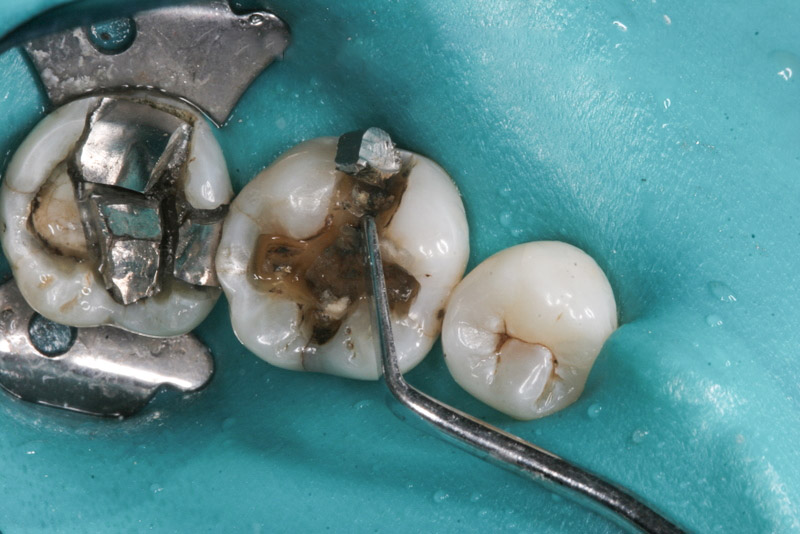
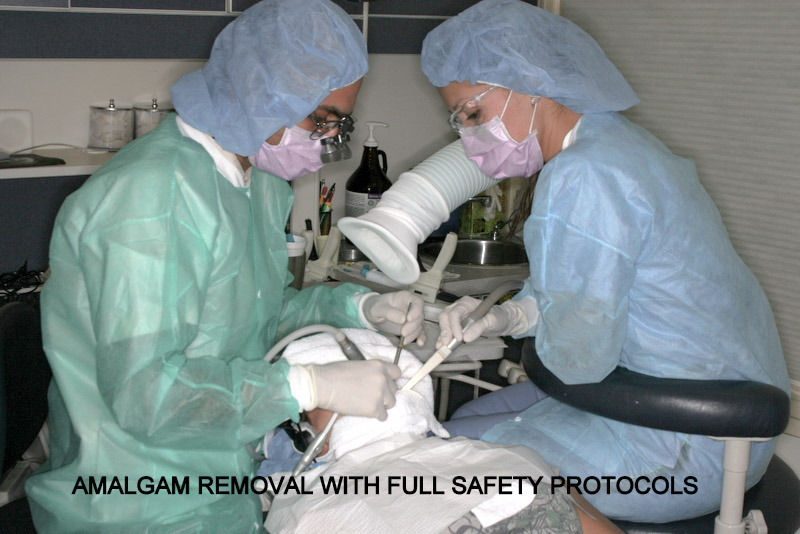
SAFE AMALGAM REMOVAL is carried out using strict precautions to avoid mercury vapor release and ingestion. (also watch the video Safe Amalgam removal by Dr. Sarkissian) One such precautionary protocol is called the “chunk removal” method, which involves drilling trenches along key points in the amalgam, and removing the “chunks” mechanically. This is to avoid drilling out the whole mass of the amalgam, which would releases high quantities of mercury vapor and amalgam dust.
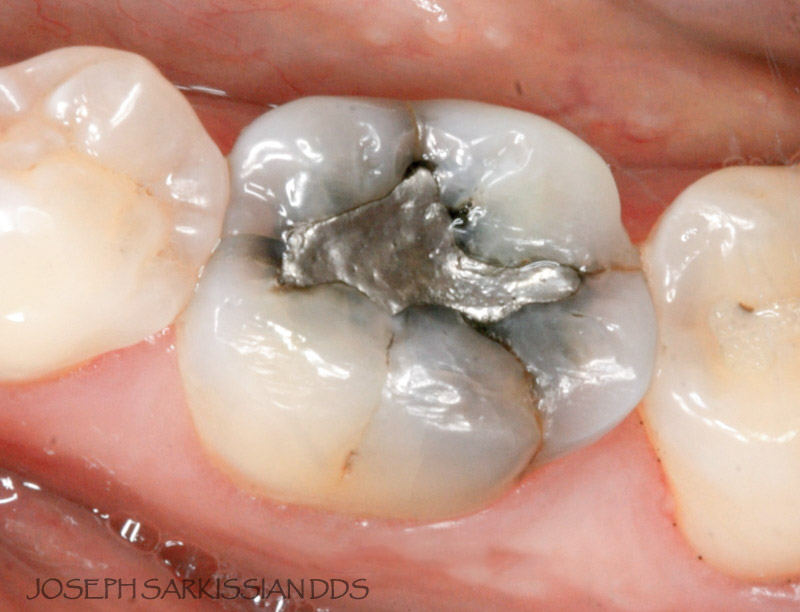
Decay Removal
Most of the decay is removed using a slow electric drill.
Deep Decay Removal

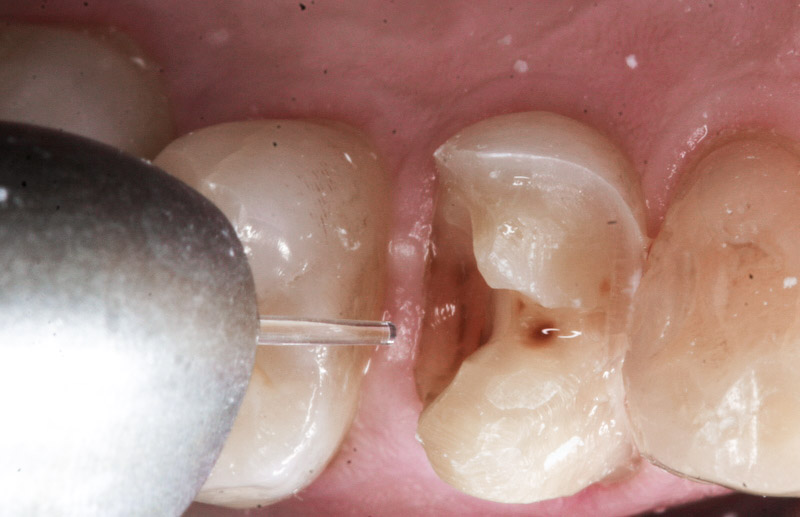

Deep decay removal is carried out with the laser “Waterlase” to avoid traumatizing the pulp (nerve) area. This reduces the risk for root canals. To see a video of the laser in action, watch the video How does the Dental Laser work.
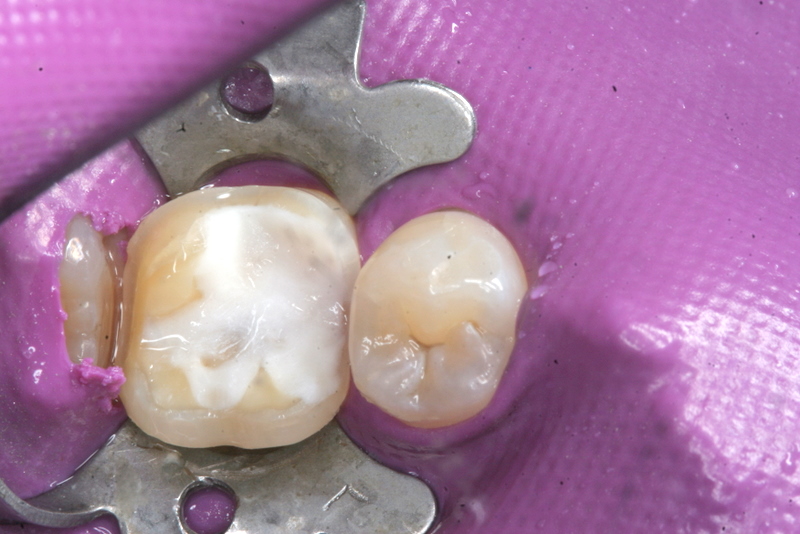
Core Buildup
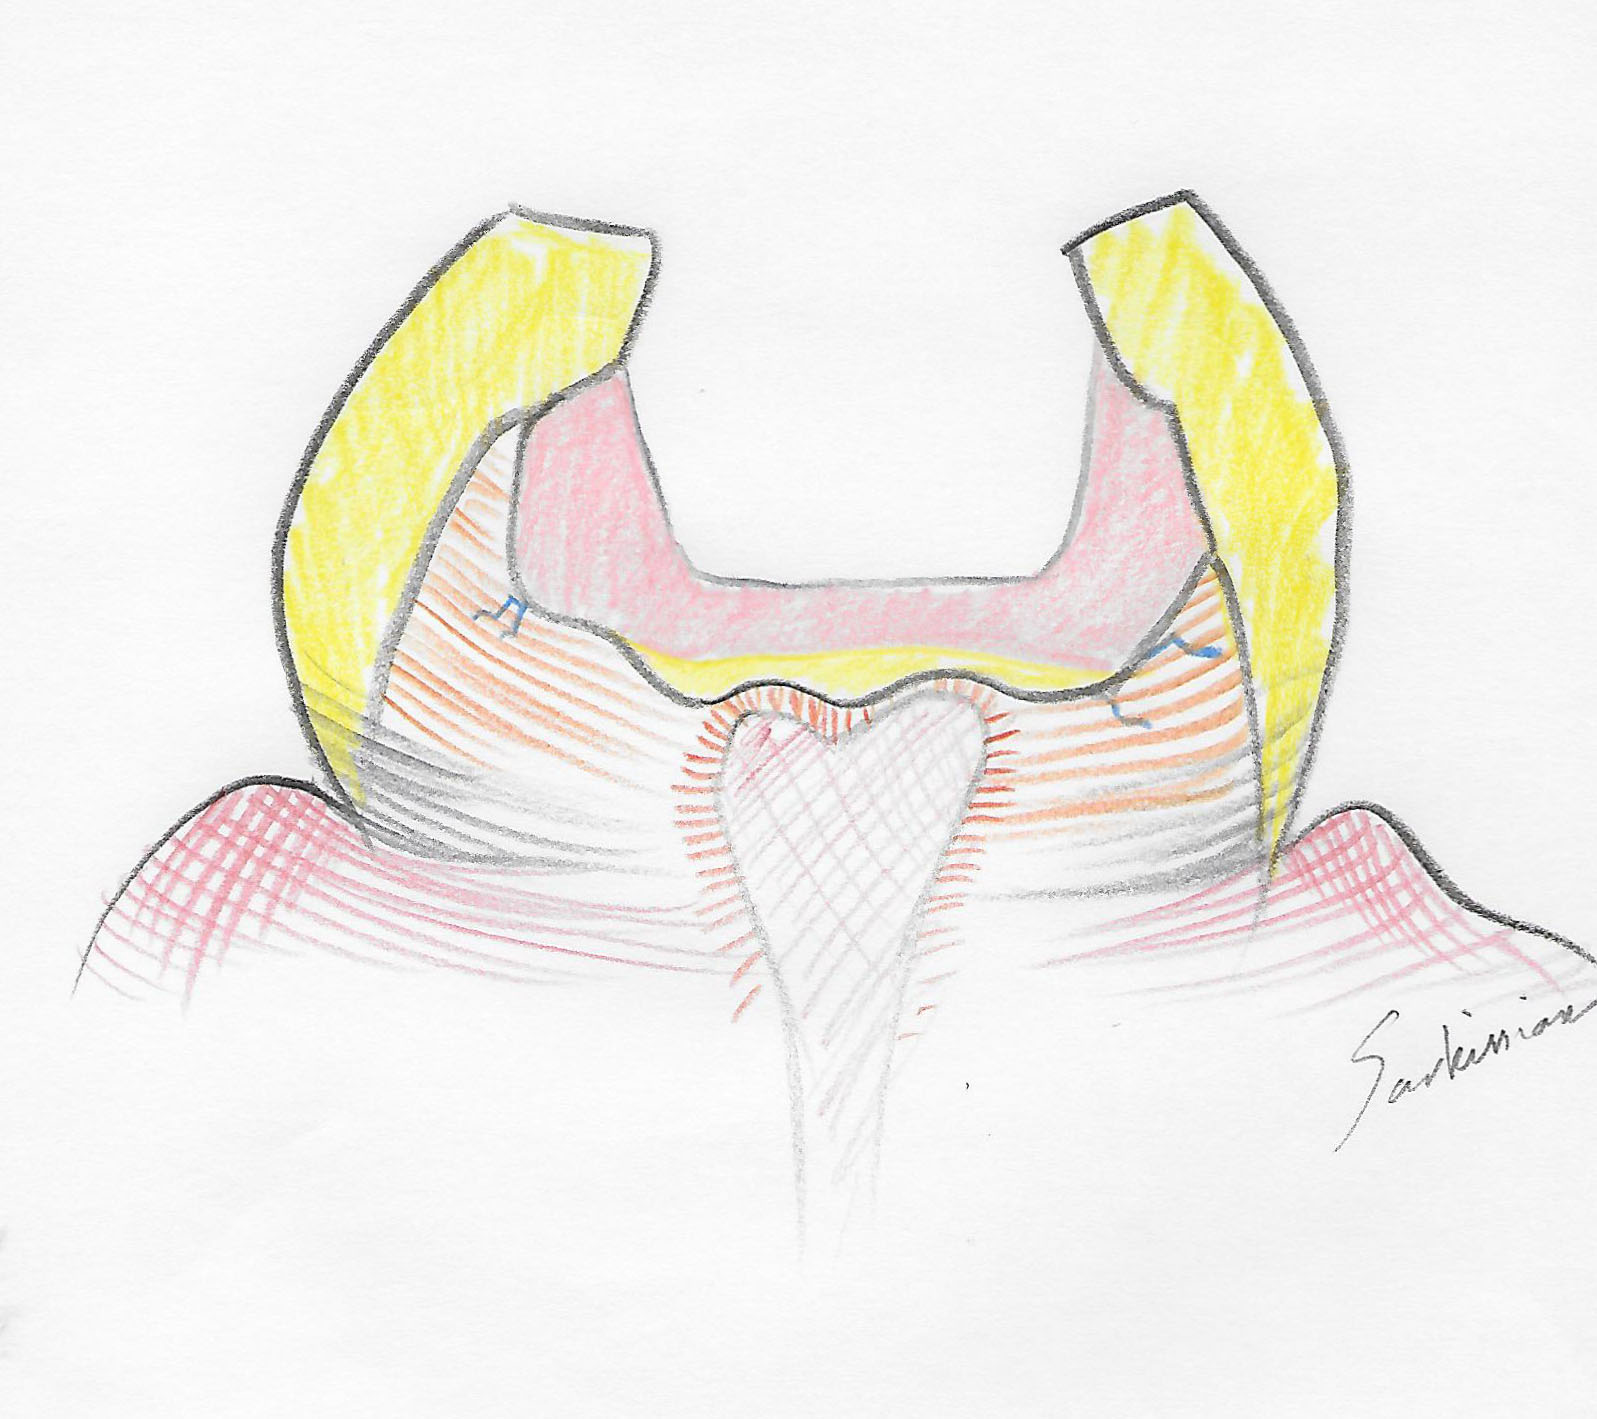

The core build-up is intended to insulate the dentin and fill in the undercuts. Restoring the tooth follows the biomimetic principle of replacing parts of the tooth not only using the most conservative approach, but also using materials that are bonded throughout, and which are close to the properties of the tooth itself, mimicking the original structure of the tooth. A bonded biocompatible bioceramic is applied over the area of dentin closest to the pulp, which is then sandwiched in a layer of composite, which also fills in the undercuts.
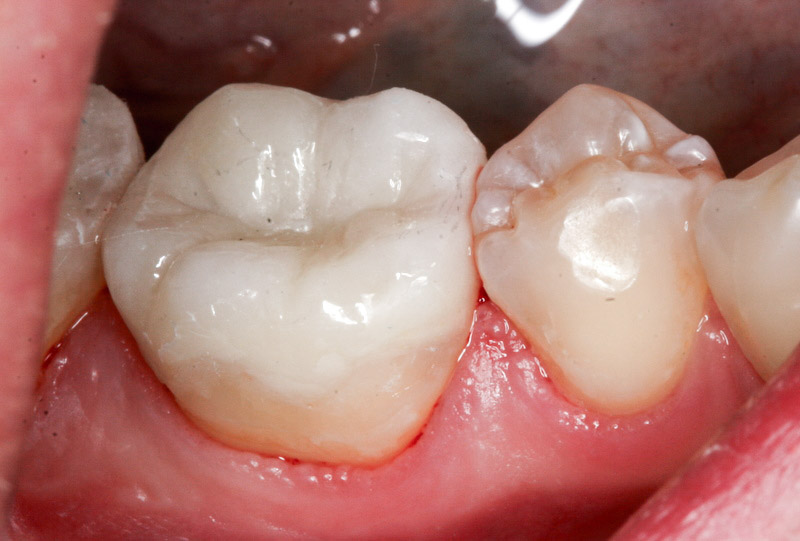
Onlay Design

The tooth is then shaped for an onlay with fine diamond burs, and is digitally scanned with our CEREC camera, creating a virtual model. An onlay is digitally designed in the computer program, and is sent to a CAD-CAM device, which mills the onlay the very same day.
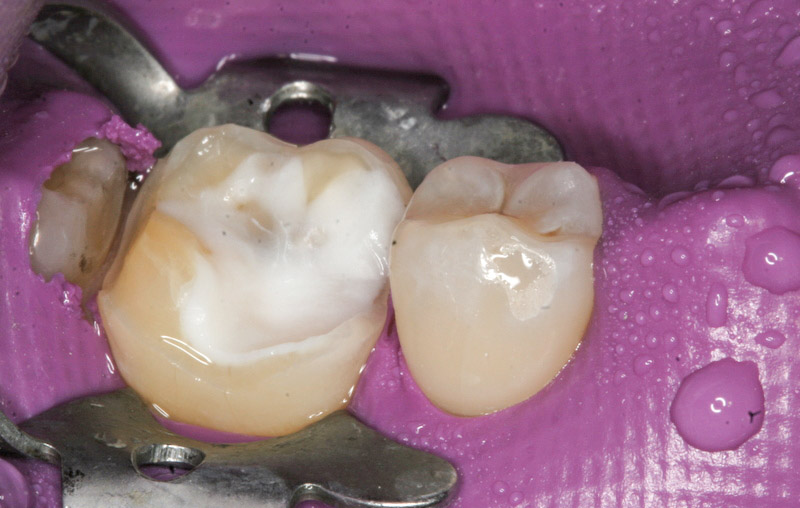
The Onlay Fitted, Glazed and Bonded

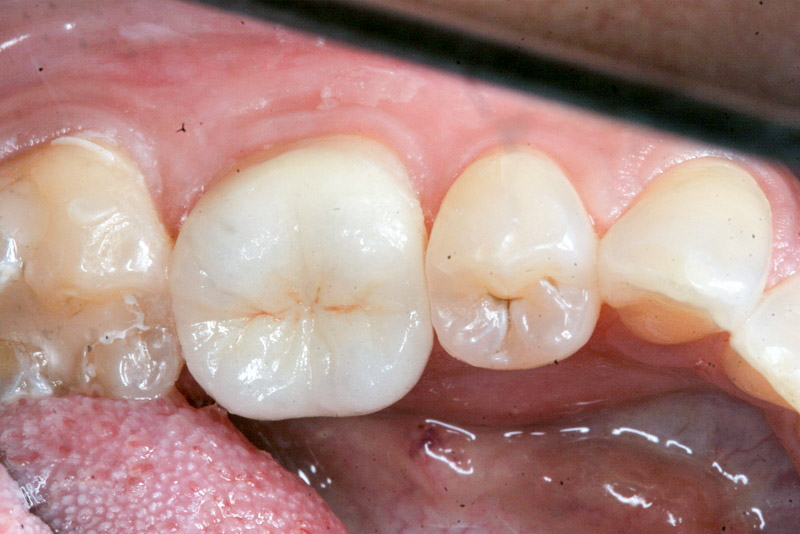
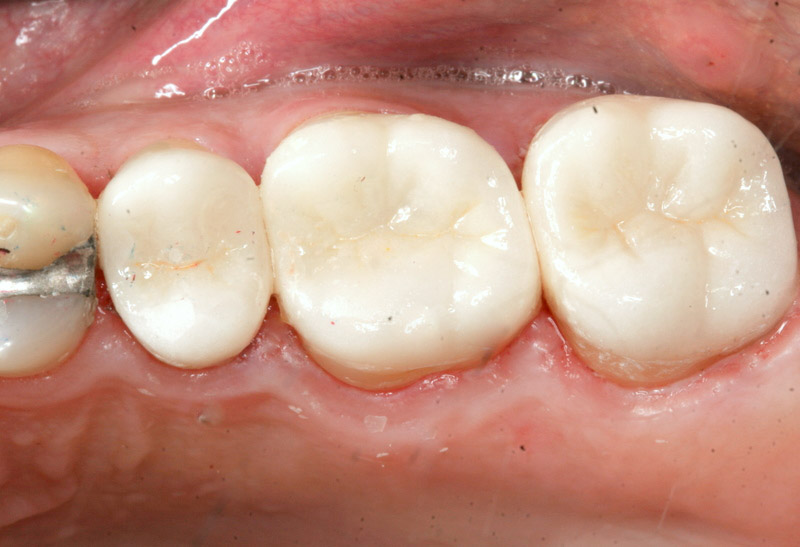
The onlay is tried in, glazed, and bonded in place. The whole procedure between scan and cementation takes 40 minutes. The rationale of the onlay is as follows: It basically covers the whole chewing surface and holds together the pieces of the tooth segments, weakened from the amalgam filling. It also preserves the bulk of the walls which are healthy and valuable as part of the natural tooth structure.